Saturday, August 27, 2011

Rescue Me


I didn't get Gracie from a breeder....................exactly.


And I didn't get her from a Rescue, which according to popular opinion is the ONLY way to acquire a new dog these days.


I don't know what it is lately....but if I had a dollar for everytime I was asked if Gracie was a rescue dog, I could retire tomorrow.


I am a volunteer for Boxer Rescue and had all intentions of "rescuing" a boxer in need...or any dog in need for that matter.


But I was completely derailed by this face.


This sweet, little face.


So when did owning a Rescue Dog get to be so chic?


I do think it's fabulous that they are making T-shirts and bumper stickers now so people can tell the world about how they rescued a dog in need.


Indeed.


If only I hadn't seen those cute little hamster feet, or that cute little bum.


And the tail attached to it.


 No, I did not get Gracie from a Rescue.


but does it count that I think she rescued me? 


Tuesday, August 16, 2011

Peanut Butter Pie


This peanut butter pie was made with someone specific in mind. 

I didn't know them, but Mikey was the other half of Jennifer Perillo, a fellow food blogger.  Jennie unexpectedly lost Mikey last week, and through her heartbreak and sorrow she asked the food blogging world to remember her husband by making a peanut butter pie. His favorite.  So Mikey, this one's for you.

Peanut Butter Pie

Filling: 1 can evaporated skim milk (12-ounce)
1 envelope plain gelatin (1/4-ounce)
1 package low-fat cream cheese (8-ounce Neufchatel), softened
1/2 cup confectioners sugar (10x)
3/4 cup reduced-fat creamy peanut butter
3 teaspoons vanilla extract

Crust:
2 packs low-fat chocolate graham crackers
3/4 stick of butter

Topping:
3 cups Marshmallow Fluff
3 cups mini marshmallows
1/4 stick of butter
Semi sweet chocolate chunks
Reese's peanut butter cups - mini's

Whisk milk and gelatin together in medium-size heavy saucepan set over low heat. Whisk constantly until mixture boils and gelatin dissolves completely (about 2 minutes). Transfer to heatproof bowl and cool 15 minutes.

Meanwhile, beat cream cheese and 10X sugar at low mixer speed in large bowl until smooth (about 1 minute). Scrape down sides of bowl, add peanut butter and vanilla, and beat 1 minute more. Again scrape down sides of bowl. With mixer still at low speed, slowly add milk-gelatin mixture and beat until very smooth (about 2 minutes.) Don't forget to scrape down sides of bowl at half time.

Set pie crust in 10-inch pie pan or on small baking sheet (this is to catch any spills), then carefully pour in peanut butter filling (it will come right to top of crust). Set uncovered in refrigerator and chill several hours until set. Cut into wedges, drizzle with hot fudge sauce and serve.


Gather your ingredients...
Crush the chocolate graham crackers....

and mix them with the softened butter.

Make sure you crush the crackers as much as possible.
Then use the back of a spoon (or your fingers) to push it into the pan. I used a tart pan, but any pie plate will do nicely.
Pretty.


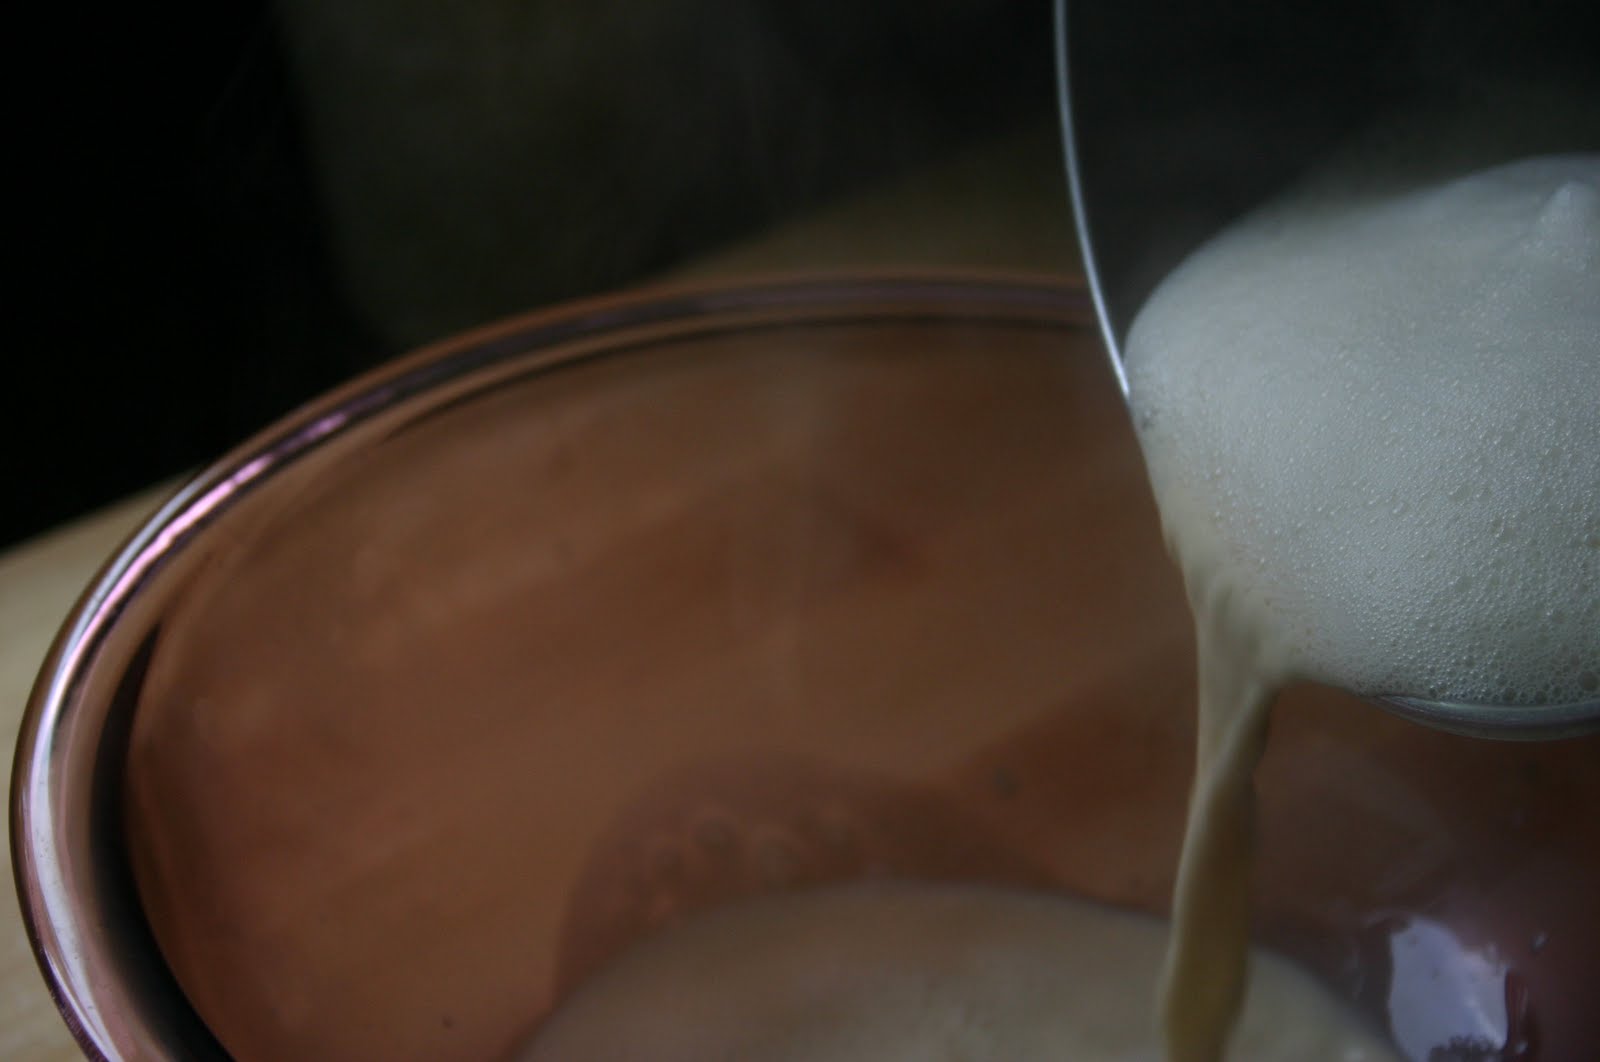
Whisk milk and gelatin together in a saucepan over low heat.


Whisk it constantly while on the stove until the mixture boils...about 2 minutes. Transfer to a heatproof bowl and cool for about 15 minutes.


Meanwhile in a mixing bowl, beat cream cheese and confectioners sugar until it's smooth. Scrape down the sides of  your bowl, then add peanut butter and vanilla and beat about another minute more.


With the mixture at low speed, slowly add the milk-gelatin mixture and beat until very smooth.
Slowly pour the peanut butter mixture into your graham cracker crust.


Put it in the refrigerator (uncovered) to set for several hours. Please note that you may need to hire an armed guard at this juncture.

Place the Marshmallow Fluff, mini marshmallows and butter in the top of a double boiler and bring to a boil. If you don't have a double boiler, DON'T PANIC! Simply place the ingredients in a bowl and set the bowl over a pan of boiling water. Stir the mixture until it is almost smooth. Be careful because you don't want all of the mini-marshmallows to melt.


When the marshmallow is soft enough to spread, then carefully smooth it over the top of the peanut butter
pie.


Sweet Moses! I just turned that cute little peanut butter pie into a giant Fluffernutter! 


Roughly chop the chocolate chunks and Reese's cup minis and sprinkle across the top of the pie.


Then take your favorite blowtorch and roast your marshmallows!
 Gulp.


Jennifer, I made this pie for Mikey....


but I saved this slice for you.


Sunday, August 14, 2011

The Best Red Wine Sangria on the Planet!


In the summer of my freshman year in college, after a long day of working at Jordan Marsh, my friends and I would pig-pile into someones car and head down the road to the Ground Round restaurant for a little food and refreshment.  Our "food" was baskets of popcorn and our "refreshment" was almost always a few icy cold pitchers of Sangria. Now, before you go gettin' your dander up.....it was once upon a time when the legal drinking age was 18. Yes, do the math......

I'm 90 years old.

Anyway, it was the first time that I tasted Red Wine Sangria. From the first icy cold, fruity sip, I was hooked. I hadn't had a glass of Sangria in years, when I happened to see it on the menu at Bertucci's quite recently. It was fabulous! Even better than I had remembered.  I immediately knew that I had to re-create it, so after three completely different recipe attempts, this is it.  Fasten your seatbelts.

The Best Red Wine Sangria on the Planet

2 large juice oranges, washed; one orange sliced; remaining orange juice
1 large lemon, washed and sliced
1/4 cup granulated white sugar
1/4 cup Triple Sec
1 (750 ml.) bottle inexpensive but fruity red wine, chilled


When you're buying the red wine, be sure to buy the cheapest kind they sell...you know, like we did in college. Before we had real jobs.


Add sliced oranges, apples, lemons and sugar to large pitcher; mash gently with wooden spoon until fruit releases some juice, but is not totally crushed, and sugar dissolves, about 1 minute.


My mouth is starting to water.


               Stir in orange juice, Triple Sec, and wine, then refrigerate for at least 2, and up to 8, hours.


Then just stand and stare at them.  Aren't they pretty??


            Before serving, add a dozen ice cubes to each pitcher and stir briskly to distribute settled fruit and pulp. Serve immediately.  

Warning:  Once you taste this Sangria, you will want to keep it for yourself.  I am here to tell you that no good can come from this.  You will become a Sangria Hoarder. TLC Network will make a reality show about you and with the cameras rolling, they'll hire counselors to talk you out from under the front porch, clutching your half empty pitcher of Sangria. It's not a pretty picture, is it? Maybe you should just call your friends to come over and help you drink it. We'll just keep the Sangria Hoarding thing between us. 

Mums the word.....

unless she likes Sangria too.

Saturday, August 13, 2011

Roasted Banana Pudding


I'm not a huge fan of bananas.

Unless they are dunked in chocolate, of course. But I found this recipe in Cooking Light magazine and I just had to give it a whirl. They always make their recipes SO appealing, don't they? I'm a sucker for great food photography.  But Roasted Banana Pudding? I was intrigued. Roasting intensifies flavor...........as I quickly found out after just one bite of this absolutely scrumptious dessert. Try it once, and you'll go bananas too!


I used a large footed trifle bowl.........for presentation of course, but that's just the "Martha" in me. Really, any deep bowl will work. Here's the "hijacked" recipe....


5 -7 ripe unpeeled medium bananas (about 2 pounds)
1 box Jello Vanilla or Banana Pudding
2 teaspoons vanilla extract
1 (12-ounce) container frozen fat-free whipped topping, thawed and divided
45 vanilla wafers, divided
Mini chocolate chips (optional)
Butterscotch or caramel topping (optional)


Take six or seven large bananas (skins on) and place them on a cookie sheet, then cover them with a piece of parchment paper. Place them in a pre-heated 350 degree oven for 20 minutes. Remove three bananas from the oven and let them cool down. They will be blackened and very very HOT!  Hot bananas everyone! Get your red-hot bananas!  See? That doesn't work....it just doesn't even sound good.


Unless you're a monkey.

Peel the bananas and slice into 1/2 inch slices.


Bake the remaining bananas for an additional 20 minutes. Remove them from the oven and let them slightly cool, then peel them and mash them with a fork in a small bowl with the vanilla.


Here's where the Cooking Light recipe hits the skids. I cheated. Instead of making the pudding from scratch.................I used Jello brand Banana pudding.  Yea, yea, I know.  I've always taken the road less traveled. you experience so many fun things that way! Where was I? Oh yes. The pudding. 


Prepare the pudding as directed on the box and refrigerate. When it's cool, mix the pudding with the mashed banana mixture and the entire container of whipped topping. Place in the fridge for about 30 minutes then roll up your sleeves and get ready to layer it up! I should have used a smaller bowl, because technically speaking, it really should be filled right up to the tippity-top. So maybe the next time I'll double the recipe. You can never have too much.


Start the first layer by covering the bottom of your bowl with some of the banana custard mixture.


Then cover that layer with about 20 Nilla (or your favorite brand) Vanilla Wafers.

Breathe.


Then cover that layer with more of the banana custard and sliced bananas.

Then repeat.


Breathe.

Repeat.


Breathe.

Repeat.


Exhale.


Wait!

"When did she slip in those chocolate chips?", you ask??  Hey, I'm a risk taker and a rule breaker....especially when it comes to chocolate. I also used ginger snaps to garnish the top layer. Then before I served it to "my peeps", I drizzled each portion with some warm caramel sauce.


So good.


 I have no regrets. 

And neither will you.