When I was a kid, nothing was better than a stack couple of Oreo cookies with a tall glass of cold milk.

There was only one problem, my mother wouldn't buy Oreos. Something about them being "too rich or too heavy" (insert rolling of the eyes here)....I don't know. Knowing my mother.....I'm sure that the price of Oreos had a lot to do with it. She bought Hydrox cookies instead. But she couldn't fool me. Even at the age of ten, I always knew that the Hydrox cookie was simply a cheap Oreo "knock-off". It looked the same, but was light years away from that rich chocolate Oreo taste and creamy white filling.


Everything's changed now. Now that I have that recipe, I don't have to behave like that anymore. Er.....I mean, people won't have to behave like that anymore. Anyway, where was I?.........ah yes.
The oreo's that are sold at Flour Bakery are phenomenal. Colossal. They are oversized deep, dark chocolate dreams. And after taking a baking class at Flour Bakery, now I know how to make them.
(cue the diabolical laugh)
Oh wait. By the end of this post.............you will too. Curses. Keep in mind that this is not a quickie recipe. But if you do all the leg work the day before, you
Flour Bakery's Homemade Oreos
2 sticks of unsalted butter, melted
3/4 cup sugar
1 tsp vanilla
1and 1/2 cups of all purpose flour
1and 1/2 cups of all purpose flour
1 cup semisweet chocolate chips, melted
1 egg
1 1/2 cup Dutch processed cocoa powder
1/2 teaspoon baking soda
Combine the melted butter, sugar and vanilla in a medium bowl and whisk until combined. Whisk in the melted chocolate. Add the egg and whisk until combined.
Use a wooden spoon to stir in the flour, cocoa powder, and baking soda until thoroughly mixed. Add flour mixture to butter/chocolate mixture and stir until fully combined. It will have the consistency of playdough. Cover the dough in plastic and refrigerate until firm, at least 4 hours or overnight. If you leave it overnight you will have to let it soften for a bit to work with it....a few hours at room temperature.
Divide the dough in half and place each half on a 15-inch square sheet of parchment or waxed paper. Shape each half with your hands into a rough log shape, about 12 inches long and 2 inches in diameter. Place the log on the edge of the parchment square and roll the log up. Refrigerate the logs until firm about 2-3 hours.
Note: You can prepare the dough up to this point and refrigerate it (wrapped in plastic) for up to a week or in the freezer for up to a month (if frozen, remove the dough from the freezer the night before you want to bake it and defrost in the fridge)
Heat the oven to 325 degrees.
Remove the parchment from the logs of dough and slice the logs into 1/4 inch thick slices. Place the slices about 1 inch apart on a greased or parchment lined cookie sheet and bake for 20-25 minutes, until firm to the touch. Check them frequently after 16 or 17 minutes by poking them in the middle. When they feel firm to the touch, pull them and let cool on the baking sheet.
Oreo Filling
1 stick unsalted butter, softened
1 2/3 cups confectioner's sugar
1 teaspoon vanilla
1 tablespoon milk
In bowl of a stand mixer, soften the butter until pliable. Add the confectioner's sugar and vanilla and beat until smooth. Add the milk and beat until smooth. Scrape well and remix. The filling keeps in an airtight container at room temperature for up to 2 days or in the refrigerator for up to 2 weeks. Bring to room temperature before using.
Use a tablespoon to scoop out a rounded tablespoon of Oreo filling and place it in the middle of one of the Oreo cookies. Press another cookie on top to distribute the filling toward the edges.

Remember to organize and pre-measure all of your ingredients. It really does make the task SO MUCH easier!

Combine the melted butter,

...with the melted semi-sweet chocolate chips and the vanilla.

Whisk it all together,

...add the egg and continue to mix...
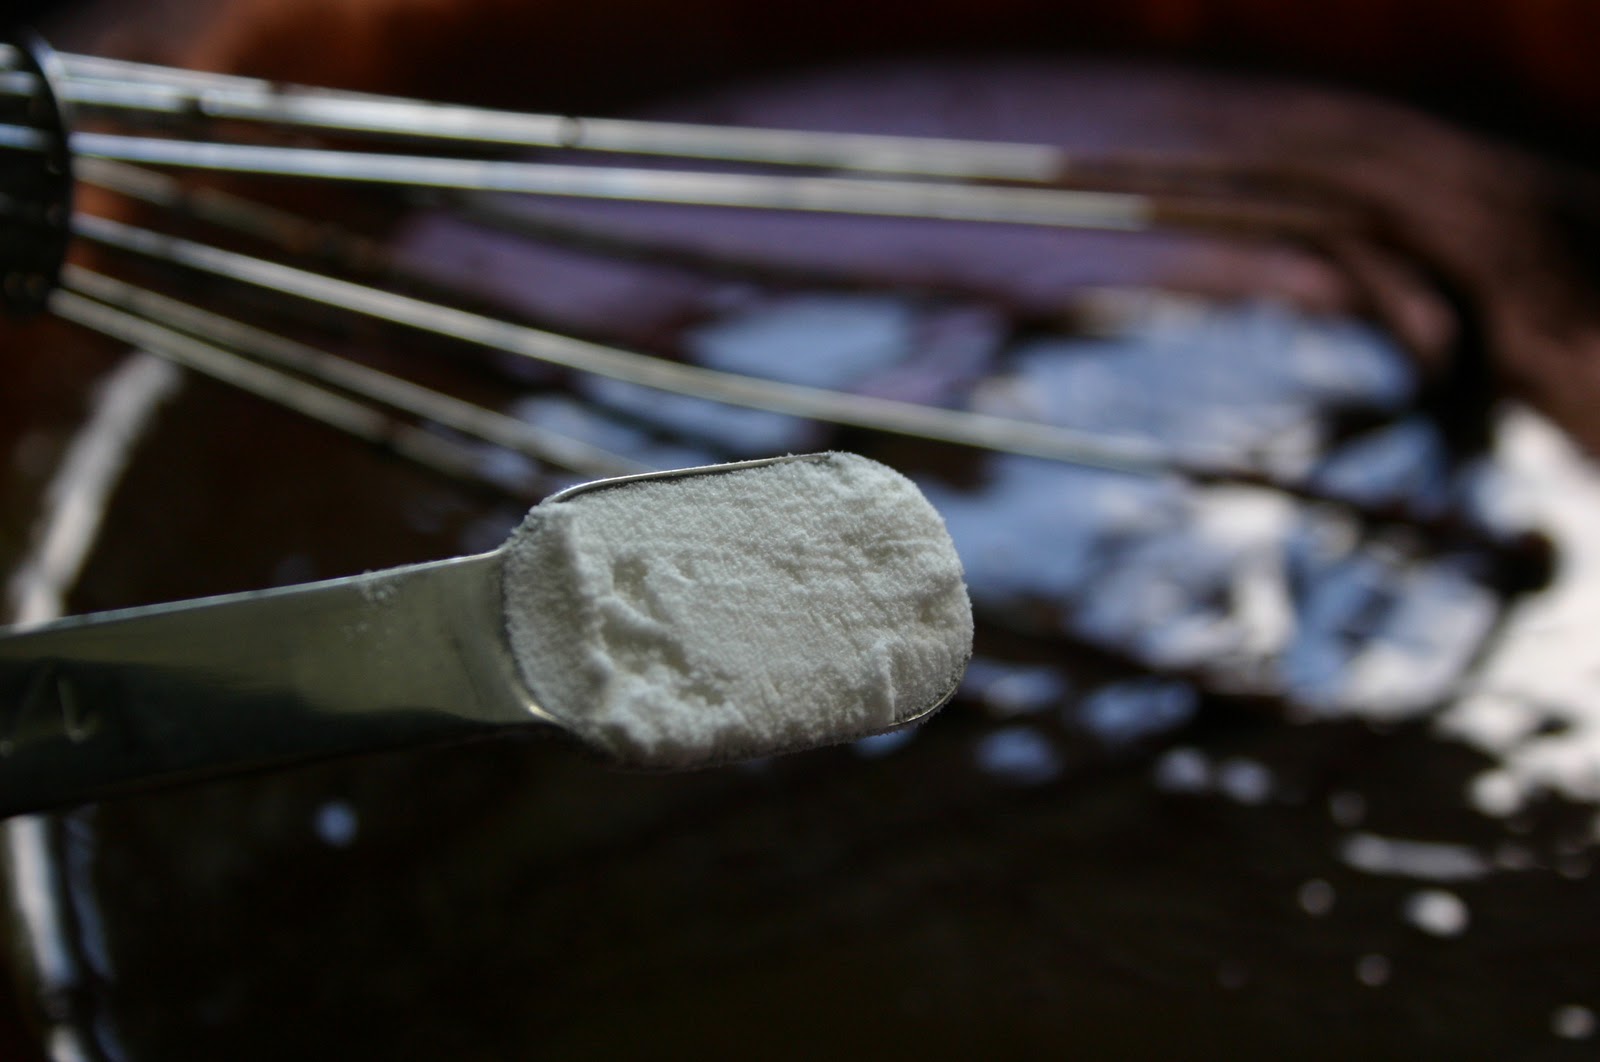
Then add the baking soda,

flour,

...and cocoa powder. Try to use the very best cocoa you can find. It really does make a difference. I used Valrhona that I purchased at Whole Foods.

After combining all the ingredients, the mixture will look like this. Keep mixing and turning until it almost has the consistency of Play Dough.

Then you are going to form it all into a loaf and wrap it in plastic wrap. Yes, I know. I have enough plastic wrap for the entire crew of Biosphere 3. But...... it is so easy to use. No more fighting with that little metal jaggy thing on the outside of the carton. With this commercial sized container, you just pull out the amount that you need and slide a little knob (a hidden blade) across the wrap....and voila! I love it!!


Now, as I said earlier, this recipe is either an all-day event OR a two day event. But once the dough has been sufficiently chilled, you may proceed to the next step.

Remove from the fridge and slice the dough in half.

Then shape each section into a chocolate log. Keep in mind that this is easier said than done. It should be perfectly round. Please note that mine was not. All part of the learning curve.

Then, wrap each section in parchment paper, then plastic wrap,

....then put them back in the fridge to chill some more.

See what I mean? Not a perfect log. What I neglected to do was to re-open the log packages halfway through the chilling process and re-shape them. Hint. Hint. If you do this, it will make the rest of the process much smoother and you will have a much rounder cookie.

I like to line my cookie sheets with parchment paper. It makes your clean-up a snap.


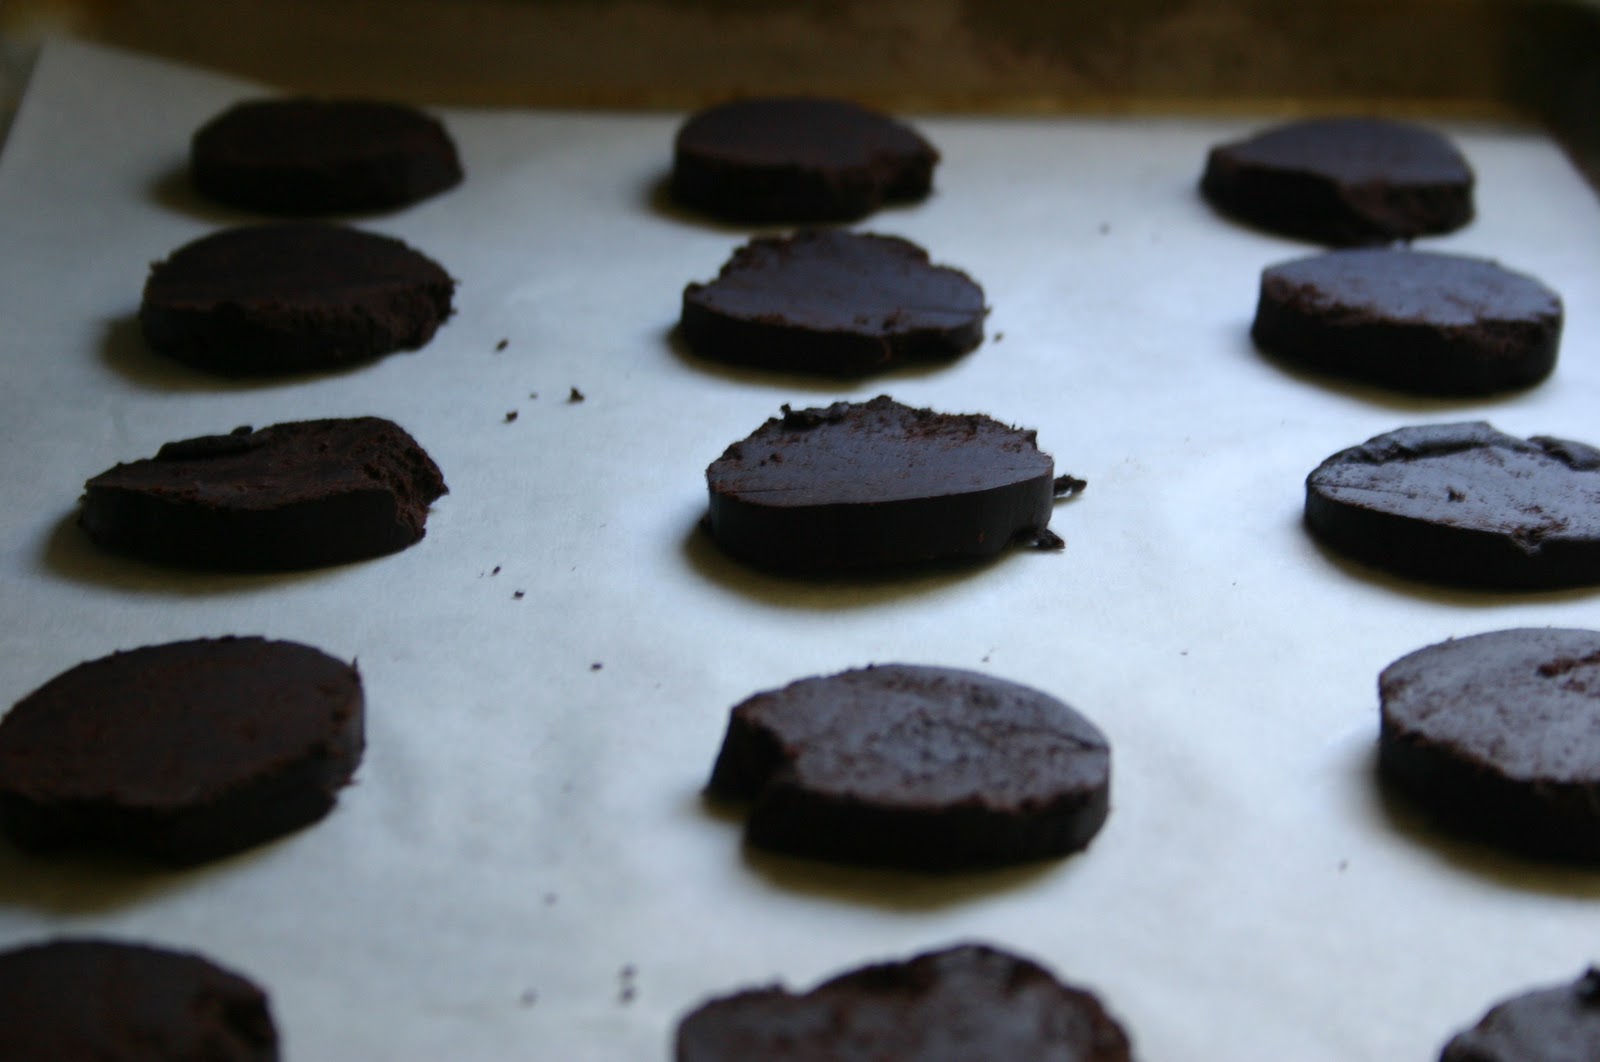
Slice each log into 1/4 inch slices,

...and place them about an inch apart on the cookie sheets.

Bake in a 325 degree oven for about 20-25 minutes. Check them at 22 minutes. You want them a little on the firm side, but not hard. Watch them as they can burn quickly.

Place them on a rack to cook completely. Did you hear me? I said "cool completely".
That means no nibbling!
While they are cooling, you can whip up your filling. Trust me....it will take your mind off of the cookies.

Add vanilla and softened butter to the confectioners sugar...

...then add the milk..er, um...except that I used Half and Half.

Then mix it all furiously together.


Take a cookie and spread it with some filling.

Gently press another cookie against the filling.

I refridgerated the cookies until the filling firmed up,

...but it's totally up to you.
So now it's just you, the cookies and a big glass of milk.
Big sigh.
What should you do first? Dunk the whole think in milk? Unscrew the top and scrape off the yummy vanilla filling with your teeth??

How do YOU eat an Oreo?